

Table of Contents
- Step-by-Step: How to Apply Lip Tint for a Subtle Natural Flush
- How to Prep Lips for Lip Stain So Color Goes On Evenly
- Lip Tint Application Techniques for Different Lip Shapes
- Choosing the Right Shade for Your Undertone
- Layering for Intensity: Sheer Wash to Soft Gradient Lips
- Best Luxury Clean Lip Makeup Brands and Ingredient Safety
- Removal and Aftercare: Protecting Your Moisture Barrier
- Conclusion: Your Everyday Natural Flush
- Frequently Asked Questions
Last Updated: September 29, 2026
Step-by-Step: How to Apply Lip Tint for a Subtle Natural Flush
Learning how to apply lip tint for a subtle natural flush takes about 60 seconds. The goal is color that looks like it belongs on your face, not sitting on top of it. At Charmstyle Beauty Cosmetics, we built our stain collection around exactly this: a fresh, just-bitten effect.

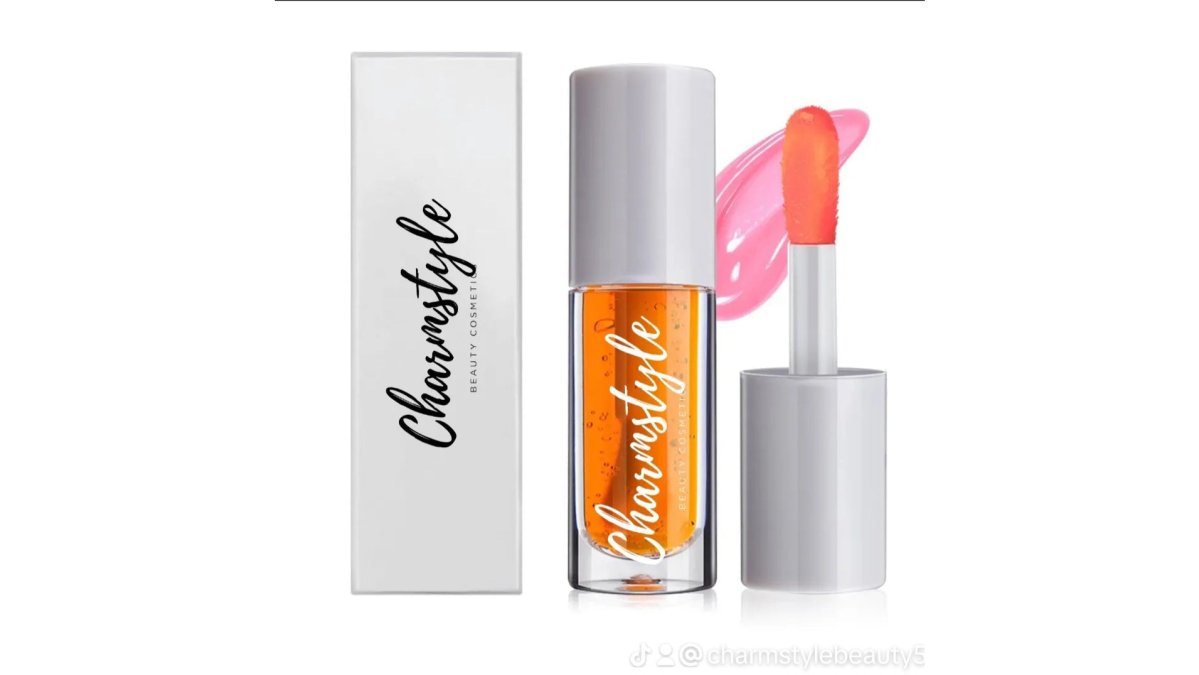
Here's the core routine:
- Start with clean, dry lips. Any balm or oil will block the tint from setting.
- Dot three small points of tint on your lower lip only: one at each corner, one in the center.
- Press your lips together twice to spread the color.
- Tap the edges with a clean fingertip to soften the outline.
- Wait 30 seconds before adding balm or gloss on top.
The Tap-and-Build Method
The tap-and-build method is the fastest way to control a sheer formula. Instead of swiping the applicator across your whole mouth, tap color into the center of your lips and press outward.
Fingertips vs. Brushes: Which Blends Better?
Fingertips win for a natural flush: your finger's warmth melts the formula so it sinks in instead of sitting on top. A small synthetic brush gives more precision at the contour, but it's slower and can leave visible edges.
Here's the practical breakdown:
| Tool | Best For | Finish | Speed |
|---|---|---|---|
| Fingertip | Everyday flush, soft edges | Seamless, diffused | Fastest |
| Small brush | Precise lip contour work | Defined but soft | Slower |
| Applicator wand | Building intensity in layers | Even, controlled | Medium |
| Cotton swab | Fixing mistakes at the edges | Clean-up only | Fast |
How to Prep Lips for Lip Stain So Color Goes On Evenly
Lip prep decides whether your stain looks smooth or patchy, since tint settles into every flake and crease. The good news: prep takes two minutes, two or three times a week.
Follow this order:
- Exfoliate first. A gentle scrub removes dry, flaky skin in circular motions, then rinse or wipe away the excess.
- Hydrate second. Apply a lip mask or rich balm and let it sit for five minutes.
- Blot third. Press a tissue over your lips to remove leftover product.
- Wait a full minute before applying tint. Slick lips repel color.
Lip Tint Application Techniques for Different Lip Shapes
Lip tint application techniques change based on lip shape. Adjusting where you place color makes a bigger difference than changing products.
Choosing the Right Shade for Your Undertone
Undertone, not skin tone, decides which tint looks natural on you, which is why a shade that looks perfect on a friend can look off on you. Skin tone is how light or deep your skin is; undertone is the underlying cast, cool, warm, or neutral, and it stays the same year-round.
Step 1: Find Your Undertone
Check the veins on your inner wrist in natural light, not bathroom lighting:
- Blue or purple veins: cool undertone. Reach for rose, berry, and cool pink tints.
- Green or olive veins: warm undertone. Peach, coral, and warm nude tints flatter you.
- A mix of both: neutral undertone. Most shades work, so follow your mood.
Two backup tests if your veins are ambiguous:
- Jewelry test. Silver flatters cool undertones; gold flatters warm. If both look fine, you are likely neutral.
- White paper test. Hold a white sheet next to your bare face in daylight. Pink or rosy skin leans cool; golden or peachy leans warm; neither means neutral.
Step 2: Match the Tint's Base, Not Just Its Name
A tint's name tells you almost nothing. What matters is the base pigment family, which your undertone will either amplify or fight.
- Cool undertones do best with blue-based pinks, true roses, and berries. A warm coral on a cool undertone reads orange, not fresh.
- Warm undertones do best with yellow- and orange-based peaches, corals, and brick-adjacent nudes. A cool berry on a warm undertone can look gray or bruised.
- Neutral undertones can wear most bases, but the safest everyday picks are muted roses and soft mauves that sit between warm and cool.
Step 3: Pick the Right Depth for a Flush
For a natural flush, pick a shade one or two steps deeper than your bare lip color, that small jump looks like your lips, only better. Three or more steps deeper turns a flush into a statement lip.
A practical depth guide:
- Bare lip, very pale: start with a soft rose or sheer peach one step deeper.
- Bare lip, medium pink or mauve: start with a rosewood or muted berry one step deeper.
- Bare lip, deep or brown-toned: start with a warm brick or deep rose one step deeper.
Step 4: Adjust for Finish and Formula
Finish changes how a shade reads. A glossy tint reflects light and looks lighter and sheerer than the same shade in matte or stain; a water stain sets deeper and can read one step darker once dry. Between two shades, buy the lighter in a stain and the deeper in a gloss.
Step 5: Test in Daylight Before You Commit
Apply the tint, then step outside or stand at a window. Indoor lighting, especially warm bathroom bulbs, shifts every shade warmer and deeper, so a tint that looks perfect at your vanity can look muddy in daylight.
Layering for Intensity: Sheer Wash to Soft Gradient Lips
Layering turns one tint into several looks, taking a buildable formula from a sheer wash at breakfast to soft gradient lips by evening without a second product.
Here's how to build it:
- Sheer wash: one layer, tapped in, edges blurred. Best for workdays.
- Soft gradient: two layers, concentrated at the center, pressed outward. This is the classic Korean-style lip look.
- Full tint: three thin layers, each one set before the next. Let each layer dry for 20 to 30 seconds.
Best Luxury Clean Lip Makeup Brands and Ingredient Safety
Clean beauty labels vary widely, so read the ingredient list rather than the marketing. "Clean," "natural," and "non-toxic" are unregulated on cosmetic labels, any brand can use them without meeting a standard. For sensitive or dry lips, the ingredient list matters more than shade.
Ingredients That Support the Lip Barrier
Lips lack oil glands, so they depend on what you put on them to stay supple. Look for short ingredient lists built around these:
- Shea butter, jojoba oil, and vitamin E, occlusive and emollient ingredients that slow moisture loss.
- Squalane and ceramides, barrier-supporting ingredients that help lips recover from chapping.
- Castor seed oil and sunflower seed oil, common tint bases that carry pigment without drying.
Ingredients to Watch If Your Lips React
A tint that stings, tingles, or leaves lips peeling usually reacts to one of a few common irritants. If you have reacted before, scan for these:
- Synthetic fragrance and parfum. Fragrance mixes are among the most common causes of contact reactions on lips because the lip skin is thin and absorbs quickly.
- Cinnamon, menthol, camphor, and peppermint oil. These create the "plumping" tingle many tints advertise, but the tingle is a mild irritant response, not a sign the product is working.
- High concentrations of denatured alcohol. It helps a stain dry fast and stay put, but it also strips the lip surface and worsens chapping over repeated wear.
- Some preservatives and dyes. If you have known sensitivities, patch-test any new tint on the inner arm for 24 hours before wearing it on your lips.
How to Read a Tint Label in 30 Seconds
You don't need to memorize chemistry. Use this order:
- Check the first five ingredients. Ingredients are listed by concentration, so the first five tell you what the product mostly is. If the first five are oils and butters, the tint is likely hydrating. If the first five are water, alcohol, and pigment, expect a drier, longer-wear feel.
- Scan the middle for fragrance and tingle ingredients. These usually sit lower on the list but still cause reactions in sensitive users.
- Check the last few for preservatives. Every water-based product needs a preservative system; a tint that claims to be preservative-free and is water-based is a red flag for contamination.
What Label Claims Actually Mean
Some claims are meaningful; others are marketing:
- "Vegan" means no animal-derived ingredients. It says nothing about irritation risk.
- "Cruelty-free" refers to animal testing, not to how the formula behaves on sensitive lips.
- "Hypoallergenic" is not a regulated guarantee. It is a marketing claim, not a tested standard.
- "Dermatologist-tested" usually means the product was tested on people under dermatological supervision, but it does not mean it is irritation-free for everyone.
The FDA guidance on cosmetics labeling explains which claims are regulated and which are not, and the Environmental Working Group's Skin Deep database lets you look up individual ingredients before you buy. Neither is a substitute for a patch test on your own skin.
A Simple Rule for Sensitive Lips
For an everyday tint that fits a clean routine, the Charmstyle Beauty Lip Stain delivers a lightweight, buildable wash of color that stays put. It's hydrating, transfer-resistant, and comfortable enough to forget you're wearing it. Pair it with the Kiwi Lip Scrub two or three times a week to keep the finish smooth.

Removal and Aftercare: Protecting Your Moisture Barrier
Tints are designed to stay, so they need a proper removal step. Rubbing hard with a tissue damages the moisture barrier and leaves lips raw, the fastest route to the chapping you were avoiding.
Use this removal routine:
- Press an oil-based cleanser or balm onto your lips and hold for 10 seconds.
- Wipe gently in one direction with a soft cloth.
- Repeat once if color remains. Never scrub.
- Apply a hydrating lip mask or balm before bed.
Conclusion: Your Everyday Natural Flush
A natural flush comes down to four habits: prep your lips, tap instead of swipe, match your undertone, and remove tint gently at night. Get those right and any sheer formula will look like it belongs on you.
Frequently Asked Questions
What is the best way to apply lip tint for a natural look?
Start with clean, exfoliated lips, then apply a small amount of lip tint to the center of your lips. Use your fingertip to tap and blend the color outward toward the edges. This tap-and-build method prevents harsh lines and gives you control over intensity. For an even softer effect, add a thin layer of lip balm underneath. Charmstyle's Lip Stain works well for this technique because it glides on smoothly and builds gradually without feeling heavy.
How do you prep your lips before applying tint for an even finish?
Exfoliate gently with a lip scrub two to three times a week to remove dry, flaky skin. Follow with a hydrating lip mask or balm, and let it absorb for a few minutes before applying tint. Pat lips dry so the tint grips evenly. Prepping this way prevents patchiness and helps the color last longer. Charmstyle's Kiwi Lip Scrub is designed to buff away flakes while nourishing lips, making it a solid first step in any lip tint routine.
What are the disadvantages of using lip tint?
Lip tints can settle into fine lines if lips are dry or if you apply too much product at once. Some water-based formulas feel drying over time, especially in low humidity. Transfer-proof stains may also be harder to remove at the end of the day and can leave a faint residue. Choosing a hydrating, buildable formula and prepping with a lip mask or balm reduces these issues. Always remove tint gently with an oil-based cleanser to protect your moisture barrier.
What is the difference between a lip stain and a lip tint?
A lip stain typically delivers deeper, longer-lasting color that sinks into the lips and resists transfer. A lip tint is usually sheerer and more buildable, giving a softer wash of color similar to a natural flush. Many products blend the two, offering stain-level wear with tint-like lightness. Charmstyle's Lip Stain, for example, provides transfer-resistant color with a lightweight, natural-looking finish that works for both sheer and bold looks.