

Table of Contents
- Why a Natural Lip Makeup Routine Starts With Prep
- Step 1: Build Your Natural Lip Base
- Step 2: Line and Define for a Natural Shape
- Step 3: Apply Color That Enhances, Not Masks
- Step 4: Set Your Look for Long-Lasting Wear
- Choosing Shades for Your Skin Tone
- What Makes a Natural Lip Makeup Routine Easy
- Common Mistakes to Avoid in Your Lip Routine
- Frequently Asked Questions
Last Updated: September 4, 2026
A natural lip makeup routine for beginners is about enhancing what you already have, not masking it. This guide from Charmstyle Beauty Cosmetics walks through the exact steps to build a routine that looks fresh, stays comfortable, and lasts.
The biggest mistake beginners make is skipping preparation. Lip color applied to dry, flaky skin will always look patchy and uneven, regardless of the formula's quality. Exfoliation and hydration are non-negotiable steps, not optional extras.
Below, we'll show you exactly how to prep, line, color, and set your lips, plus shade selection and common mistakes.
Why a Natural Lip Makeup Routine Starts With Prep
A natural lip makeup look is only as good as the skin it sits on. Chapped or peeling lips will catch every bit of pigment and emphasize texture. Regular exfoliation removes dead skin cells, while a hydrating balm keeps the skin supple, creating the even coverage needed for a believable nude or sheer tint.
How to Prep Lips for Lipstick: Exfoliate and Hydrate
The most effective way to prep lips for lipstick is a two-part process: gentle physical exfoliation followed by deep hydration. Use a sugar-based lip scrub to buff away flakiness, then follow with a nourishing lip balm. Let the balm absorb for a few minutes before applying color. A common mistake is scrubbing too hard; use light, circular motions to avoid irritation.
Step 1: Build Your Natural Lip Base
Start with a clean, hydrated canvas. If your lips are dry, apply a thin layer of lip balm and blot with a tissue to remove excess oil. To neutralize natural lip pigment or correct an uneven lip line, a tiny amount of concealer blended well creates a blank canvas that makes lip color pop.
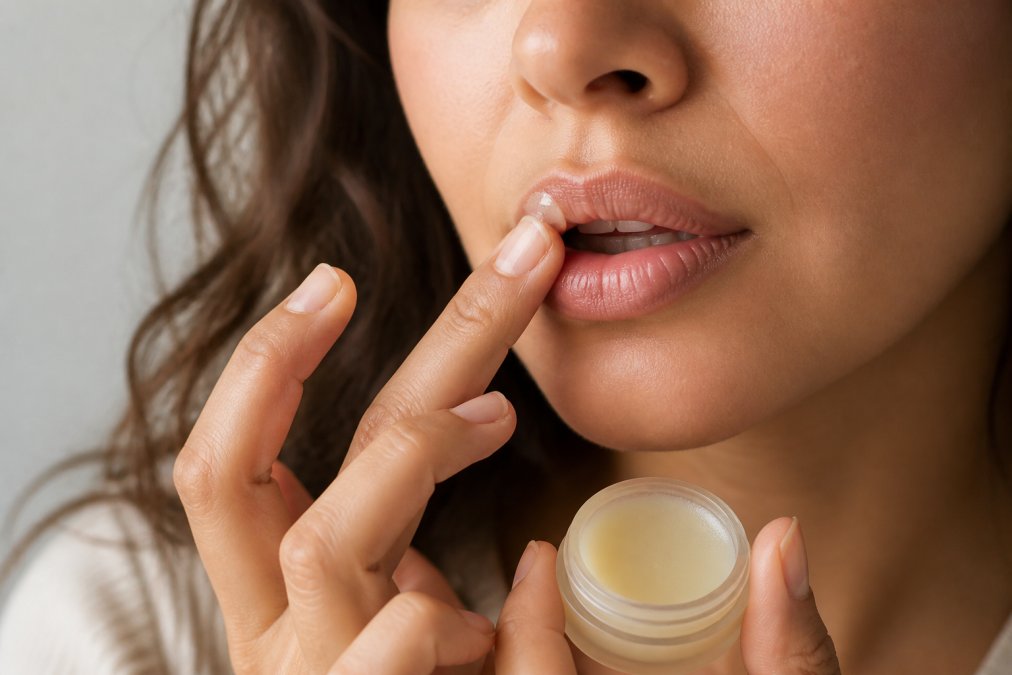
A dedicated lip primer is a game-changer for long-lasting wear. It fills in fine lines and grips the color, preventing bleeding or fading. While a balm hydrates, a primer creates the adhesive layer for your lipstick.
Step 2: Line and Define for a Natural Shape
Lip liner separates a messy application from a polished one. For a natural look, the goal is to define your lip's natural boundary, not change its shape. Choose a liner that matches your natural lip color or lipstick to prevent the "ring effect."
Start at the cupid's bow, tracing a subtle "X" to define the peak, then work outward. You can slightly overline the center for more volume, but keep it subtle. Blending the liner inward before applying lipstick creates a seamless gradient and prevents a harsh line.
Step 3: Apply Color That Enhances, Not Masks
The core of a natural lip routine is choosing a formula and shade that works with your skin tone. Sheer options like lip tints and glosses are ideal for beginners because they are forgiving. A nude lipstick in a satin or creamy texture offers more pigment while still looking understated. Avoid matte finishes if you have dry lips.
Apply the color starting at the center of the lips and blending outward. For a "just bitten" look, apply color to the center, press lips together, then blend pigment toward the edges with a fingertip. This creates a gradient that looks like you naturally have great lips.
Step 4: Set Your Look for Long-Lasting Wear
Making lip color last requires a strategic setting step. After applying color, hold a single-ply tissue over your lips and dust translucent setting powder over it with a fluffy brush. This locks pigment in place without dulling the finish.
For hydration and gloss, layer a lip gloss on top, but note glosses need reapplication. Liquid lip tints or stains are often waterproof and require no setting. A creamy lipstick will transfer, so the powder trick is essential; a stain will not, so powder may dull it. Blotting after the first application and reapplying a thin second layer builds a longer-lasting base.
Choosing Shades for Your Skin Tone
Selecting the right shade is critical. Your lip color should complement your skin's undertone. Cool undertones (pink or blue veins) look best in rose, berry, and mauve (the American Academy of Dermatology). Warm undertones (green or gold veins) are flattered by peach, coral, and warm nude shades.
A common mistake is choosing a nude lighter than your natural lip color, which washes you out. The most flattering nude matches your inner lip or is one shade deeper. For deeper skin tones, terracotta and caramel nudes work; for fair skin, pinky-beige or soft rose is ideal.
| Skin Undertone | Best Shade Families | Avoid |
|---|---|---|
| Cool (pink/blue veins) | Rose, berry, mauve, blue-reds | Orange-based corals, yellow nudes |
| Warm (gold/green veins) | Peach, coral, warm nude, terracotta | Blue-based pinks, purple-mauves |
| Neutral (mix of both) | Most shades work, balance is key | Overly grey or muddy tones |
What Makes a Natural Lip Makeup Routine Easy
A routine is only sustainable if products feel as good as they look. Heavy, sticky formulas are the fastest way to abandon a natural look. Lip skin is thinner than the rest of your face and has no oil glands, so it absorbs products quickly and is prone to irritation (peer-reviewed research).
Ingredient Safety and Sensitivity for Beginners
Most natural-lip guides skip ingredient safety, but for a beginner, this is where product choice goes wrong. Common culprits behind dry, peeling, or burning lips are:
- Fragrance and essential oils (e.g., peppermint, eucalyptus, citrus): Often added for a cooling or plumping sensation, but they can trigger contact dermatitis, especially on already-chapped lips.
- Camphor and phenol: Found in some medicated balms; they provide a temporary tingle but can dry lips out further with repeated use.
- Drying alcohols (e.g., denatured alcohol, SD alcohol): Common in long-wear liquid lipsticks; they evaporate quickly but strip moisture, leading to a cracked, patchy look by mid-day.
For an easy routine, look for fragrance-free formulas built on occlusive and humectant ingredients. Shea butter, lanolin (unless you have a wool allergy), and beeswax lock in moisture. Hyaluronic acid and glycerin draw water into lip tissue (PubMed). If you have sensitive skin, patch test on your inner arm for 24 hours before applying to lips.
What to Splurge On vs. What to Save On
Beginners assume price equals performance. That is not always true:
- Splurge on lip balms and treatments: These sit on your lips for hours and absorb into your skin. A high-quality balm with ceramides or shea butter outperforms a drugstore balm full of petroleum jelly and fragrance.
- Save on lip tints and stains: Water-based tints are simple formulas, pigment, water, and a gelling agent. A $5 drugstore tint often performs identically to a $30 luxury version; the difference is packaging and marketing.
- Middle ground on lipsticks: A creamy, satin-finish lipstick shows the price difference in pigment load and wear time. But mid-range brands often offer the best balance of comfort and color payoff for beginners.
The 'No-Mirror' Test
Before committing to any product, apply it and live your life for 30 minutes, drink water, eat a snack, talk on the phone. If the color fades evenly and your lips do not feel tight or sticky, it passes. If it settles into lines, it will not survive a busy day.
At Charmstyle Beauty Cosmetics, we formulate with this exact standard in mind. Our Charmstyle Beauty Kiwi Lipscrub uses fine sugar crystals and nourishing oils to exfoliate without stripping, while our Charmstyle Beauty Nude Lipstick is built on a creamy, ultra-pigmented base that skips drying alcohols and synthetic fragrance. The goal is a product that feels like you are wearing nothing, but looks like you have naturally perfect lips, and that does not irritate you by the end of the day.

Common Mistakes to Avoid in Your Lip Routine
The first common pitfall is applying lipstick onto dry, un-prepped lips, which leads to patchy application. Always exfoliate and moisturize first.
Another error is choosing the wrong texture. A drying matte liquid lipstick on dry lips will look worse as the day goes on. Overlining too aggressively, especially with a dark liner, looks obvious.
Lip Shape Correction for Beginners: Work With What You Have
Thin, asymmetrical, and downturned lips each require slightly different techniques. Here is how to adapt the routine to your features.
For thin lips: Avoid heavy overlining, which reads as drawn-on. Apply color to the center and blend outward, stopping before the natural edge, then clean up the border with concealer. A gloss on the center of the lower lip adds dimension. Avoid dark, matte shades; a sheer, satin finish in a mid-tone shade is safest.
For asymmetrical lips: The goal is balance, not perfection. If your upper lip is thinner on one side, trace just the outer edge of that side with liner matching your natural lip color. Do not overline the fuller side. Apply a deeper shade to the fuller side and a lighter shade to the thinner side to create the illusion of symmetry.
For downturned lips: To counteract downward-pointing corners, apply a tiny amount of concealer just below the outer corner and blend upward. When applying lipstick, stop about 1/8 inch before the corner and let the concealer do the lifting. A touch of highlighter on the cupid's bow draws the eye upward.
The Day-to-Night Transition Mistake
A final mistake is treating your natural look as one-size-fits-all. Beginners either leave the look as-is for evening events or over-correct with a heavy, dark lipstick. The transition should be quick and simple:
- Blot off the current color with a tissue, do not wipe, which smears.
- Add a deeper shade to the center of your lips and press together. This deepens the gradient without a full redo.
- Layer a glossy lacquer or clear gloss on top for a high-shine finish that catches evening light.
- Re-define the cupid's bow with a touch of concealer or highlighter to sharpen the look.
This takes under two minutes and elevates the look without starting over. A natural lip look is about having the right products and technique to enhance your natural confidence.
Frequently Asked Questions
What is the correct order for applying lip makeup?
The correct order starts with prep: exfoliate and moisturize with a lip balm. Once absorbed, apply a lip primer or a thin layer of concealer to neutralize your natural lip color. Next, line your lips with a lip liner that matches your chosen shade, then fill them in. Apply your lipstick, lip tint, or gloss, and finish with a light dusting of setting powder through a tissue to lock in the color.
How do you make your lips look naturally fuller?
To create a natural fuller look, use a lip liner slightly darker than your natural lip color to overline just the cupid's bow and the center of your bottom lip. Avoid overlining the corners. Blend the liner inward, then apply a lighter shade of lipstick or gloss in the center of your lips to add dimension and reflect light, creating volume without a heavy makeup look.
What is a good beginner-friendly lipstick?
A sheer or satin-finish nude lipstick is the most beginner-friendly choice. These formulas are forgiving if your application isn't perfect and provide a natural wash of color. Look for creamy textures that hydrate and won't settle into fine lines. A shade close to your natural lip color but slightly deeper is the easiest to apply without a mirror and complements most skin tones for an everyday look.
How do I choose the right nude lipstick for my skin tone?
A good rule is to match the nude to your natural lip pigmentation, not your foundation. For fair skin, look for pinky nudes or peach tones. Medium and olive skin tones suit beige and mocha nudes. Deeper skin tones are flattered by caramel, bronze, and rich brown nudes. When testing, apply to your bare lips; the right shade will enhance your natural color, not wash it out.
This article was written using GrandRanker